TDD with Python: 염소책02
✔ 배포 이슈
| 배포와 관련하여 AWS, Hosting, SSH 등 문제가 있으므로 이 포스팅이 완성하는데 시간이 걸릴 예정입니다. |
|---|
참고

-
Obey the Testing Goat! : Test-Driven Development with Python - 클린 코드를 위한 테스트 주도 개발(파이썬을 이용한)
- 이 포스트는 위 글을 주로 요약 정리한 내용입니다.
- 장고 공식문서 - Testing
- 위키백과-테스트 주도 개발
- 이한영 블로그- 클린 코드를 위한 테스트 주도 개발 보조 자료
-
임재곤의 개발 블로그 - 이해하기 쉬운 테스트 개발 방법론(TDD) 설명!
- TDD 설명은 위 블로그의 내용을 요약 정리하였습니다. 이 포스트보다 더 좋습니다.
웹 개발의 필요조건
- 공식문서
- 이 문서는 python과 Django를 사용하여 충실하게 설명하지만, 실제 웹 개발에서는 static files, 폼 데이터 유효성 검사, 그리고 무시무시한 JavaScript 등이 쓰입니다. TDD는 매단계마다 도움이 될 수 있습니다.
8. 꾸미기 - Layout, Styling, 테스트할 것
- 이 부분은 Bootstrap이라는 HTML/CSS 프레임워크와 스타일링의 기초를 다룰 것임
8.1. 기능테스트 - Layout & Style
- 이제 멋있는 화면을 만들자 - 기존 리스트와 새로운 입력 필드, 큰 집중력을 지닌 중심에 놓인 상자 등
- 많은 사람들이 권고하듯이 자신의 미학을 test 하지 않아야 하지만, 여기에서는 TDD 과정에서 스타일을 개선할 것이다.
functional_tests / tests.py
class NewVisitorTest(LiveServerTestCase):
  ...
    def test_layout_and_styling(self):
        # 수지는 홈페이지를 방문합니다.
        self.browser.get(self.live_server_url)
        self.browser.set_window_size(1024, 768)
        # 수지는 중앙에 멋있게 위치한 입력상자를 본다.
        inputbox = self.browser.find_element_by_id('id_new_item')
        self.assertAlmostEqual(
          inputbox.location['x'] + inputbox.size['width']/2,
          512,
          delta=10
        )
# assertAlmostEqual - 오차범위(△ = 10 )
- FT - 예상된 실패 - 아직 입력상자 위치에 대한 css작업이 없다.
➜  python manage.py test functional_tests

FAIL: test_layout_and_styling (functional_tests.tests.NewVisitorTest)
AssertionError: 85.0 != 512 within 10 delta
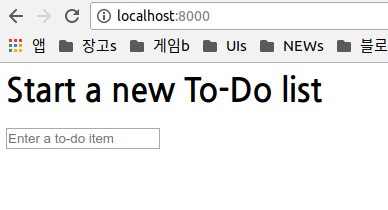
- lists / templates / home.html
<form method="POST" action="/lists/new">
  <p style="text-align: center;">
    <input name='item_text' id='id_new_item' placeholder="Enter a to-do item" />
  </p>
  {% csrf_token %}
</form>
- FT - 입력상자를 가운데 위치하는 작업을 확장해보자
functional_tests / tests.py
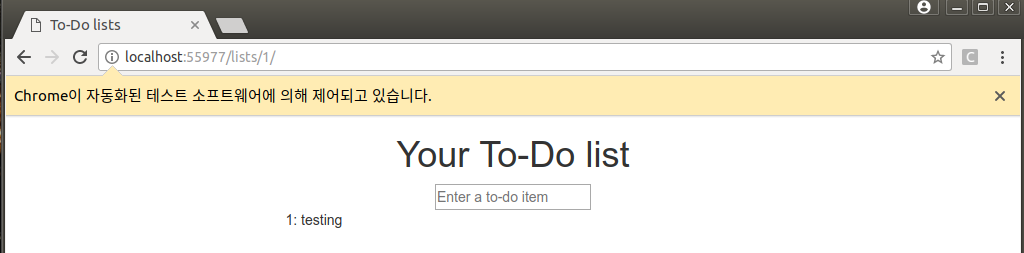
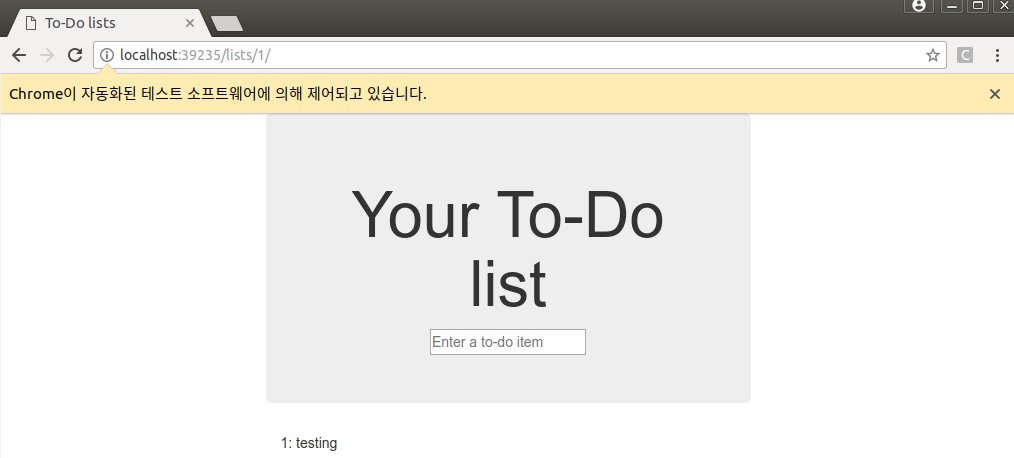
# 수지는 새 리스트를 시작하는데 또 입력상자가 가운데 위치한 것을 보았다.
inputbox.send_keys('testing')
inputbox.send_keys(Keys.ENTER)
self.wait_for_row_in_list_table('1: testing')
inputbox = self.browser.find_element_by_id('id_new_item')
self.assertAlmostEqual(
  inputbox.location['x'] + inputbox.size['width'] / 2,
  512,
  delta=10
)
➜ python manage.py test functional_tests

AssertionError: 85.0 != 512 within 10 delta
- git
➜  git add functional_tests/tests.py
➜  git commit -m "first steps of FT for layout + styling"
<p style="text-align: center">와 같은 인라인 방식보다 더 적절한 스타일 방식을 써보도록 하자.
8.2. 부트스트렙 - CSS Framework
- 설치
➜  wget -O bootstrap.zip https://github.com/twbs/bootstrap/releases/download/\
v3.3.4/bootstrap-3.3.4-dist.zip
bootstrap.zip 100%[=================================>] 254.91K 234KB/s in 1.1s

➜  unzip bootstrap.zip
➜  mkdir lists/static
➜  mv bootstrap-3.3.4-dist lists/static/bootstrap
➜  rm bootstrap.zip

lists
├── __init__.py
├── __pycache__
├── admin.py
├── apps.py
├── migrations
├── models.py
├── static
│   └── bootstrap
│       ├── css
│       ├── fonts
│       └── js
│           ├── bootstrap.js
│           ├── bootstrap.min.js
│           └── npm.js
├── templates
│   ├── home.html
│   └── list.html
├── tests.py
├── urls.py
└── views.py
-
templates에는 2개의 html이 있는데 DRY(Don't Repeat Yourself)원칙에 따라 공통부분을 추리기로 한다. 다행히도 Django template language (template inheritance)로 쉽게 이룰 수 있다.
-
Bootstrap documentation의 Getting Started 부분
<!DOCTYPE html>
<html>
  <head>
    <meta charset="utf-8">
    <meta http-equiv="X-UA-Compatible" content="IE=edge">
    <meta name="viewport" content="width=device-width, initial-scale=1">
    <title>Bootstrap 101 Template</title>
    <!-- Bootstrap -->
    <link href="css/bootstrap.min.css" rel="stylesheet">
  </head>
  <body>
    <h1>Hello, world!</h1>
    <script src="http://code.jquery.com/jquery.js"></script>
    <script src="js/bootstrap.min.js"></script>
  </body>
</html>
8.3. Django Template Inheritance
- home.html과 list.html 사이에 공통점과 차이점을 나눠보자
➜ diff lists/templates/home.html lists/templates/list.html
6,8c6,7
< <h1>Start a new To-Do list</h1>
< <form method="POST" action="/lists/new">
< <p style="text-align: center;">
------------
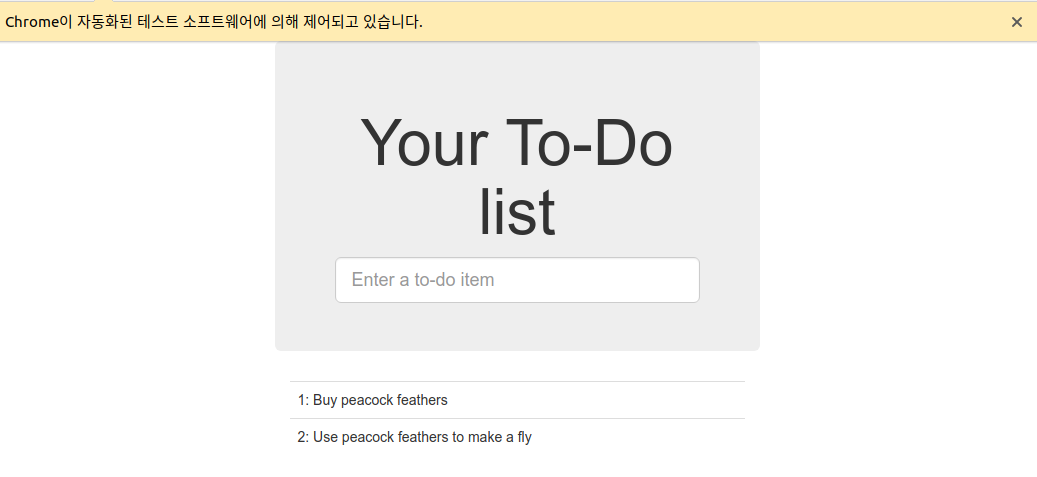
> <h1>Your To-Do list</h1>
> <form method="POST" action="/lists/{{ list.id }}/add_item">
10d8
< </p>
12a11,16
>
> <table id="id_list_table">
> {% for item in list.item_set.all %}
> <tr><td>{{ forloop.counter }}: {{ item.text }}</td></tr>
> {% endfor %}
> </table>
- base.html (
lists/templates/base.html)
➜ cp lists/templaates/home.html lists/templates/base.html
<html>
  <head>
    <title>To-Do lists</title>
  </head>

  <body>
    <h1>{% block header_text %}{% endblock %}</h1>
    <form method="POST" action={% block form_action %}{% endblock %}>
      <input name="item_text" id="id_new_item" placeholder="Enter a to-do item" />
      {% csrf_token %}
    </form>
    {% block table %}
    {% endblock %}
  </body>
</html>
- home.html
{% extends 'base.html' %}

{% block header_text %}Start a new To-Do list{% endblock %}

{% block form_action %}/lists/new{% endblock %}
- list.html
{% extends 'base.html' %}

{% block header_text %}Your To-Do list{% endblock %}

{% block form_action %}/lists/{{ list.id }}/add_item{% endblock %}

{% block table %}
<table id="id_list_table">
  {% for item in list.item_set.all %}
  <tr><td>{{ forloop.counter }}: {{ item.text }}</td></tr>
  {% endfor %}
</table>
{% endblock %}
- FT
➜  python manage.py test functional_tests

FAIL: test_layout_and_styling (functional_tests.tests.NewVisitorTest)
AssertionError: 85.0 != 512 within 10 delta
----------------------------------------------------------------------
➜  git diff -b
# -b는 공백 무시, html 들여쓰기에 유용하다.
➜  git status
➜  git add lists/templates
# static 폴더는 아직 추적하지 않는다.
➜  git commit -m "refactor templates to use a base template"
8.4. 템플릿에 부트스트렙 통합
- 공식문서 - Integrating Bootstrap
- base.html
<!DOCTYPE html>
<html lang="en">
  <head>
    <meta charset="utf-8">
    <meta http-equiv="X-UA-Compatible" content="IE=edge">
    <meta name="viewport" content="width=device-width, initial-scale=1">
    <title>To-Do lists</title>
    <link href="css/bootstrap.min.css" rel="stylesheet">
  </head>

   <body>
    <h1>{% block header_text %}{% endblock %}</h1>
     ...
- Rows and Columns - grid system과 text-center
- grid system - xs (phones), sm (tablets), md (desktops), and lg (larger desktops)
<body>
  <div class="container">
<!-- raw01-->
    <div class="row">
      <div class="col-md-6 col-md-offset-3">
        <div class="text-center">
<!-- 아래는 base.html 본 내용-->
          <h1>{% block header_text %}{% endblock %}</h1>
          <form method="POST" action="{% block form_action %}{% endblock %}">
           <input name="item_text" id="id_new_item" placeholder="Enter a to-do item"/>
            {% csrf_token %}
          </form>
<!-- 여기까지 base.html 본 내용 -->
        </div>
      </div>
    </div>
<!-- raw01-->
<!-- raw02-->
  <div class="row">
    <div class="col-md-6 col-md-offset-3">
      {% block table %}
      {% endblock %}
    </div>
  </div>
<!-- raw02-->
  </div>
</body>
- FT - **부트스트랩이 아직 적용되지 않았다. **
➜  python manage.py test functional_tests

AssertionError: 85.0 != 512 within 10 delta
8.5. Static Files in Django - StaticLiveServerTestCase
- Django가 CSS등 static 파일을 인식하는 방법이 있다.
- config/settings.py
# Static files (CSS, JavaScript, Images)
# https://docs.djangoproject.com/en/1.11/howto/static-files/

STATIC_URL = '/static/'
-
base.html
- 직접 주소 입력하는 방법
<link href="/lists/static/bootstrap/css/bootstrap.min.css" rel="stylesheet">- 동적으로 설정하는 방법
{% load static %}
<link rel="stylesheet" type="text/css" href="{% static '/bootstrap/css/bootstrap.min.css' %}" />
./manage.py runserver를 다시 해야 한다.
-
FT - 통과 !
Ran 1 test in 23.300s
OK
- LiveServerTestCase ⟶ StaticLiveServerTestCase로 바꾸기
# functional_tests/tests.py
➜  git diff

@@ -1,4 +1,4 @@
-from django.test import LiveServerTestCase
+from django.contrib.staticfiles.testing import StaticLiveServerTestCase
 from selenium import webdriver
 from selenium.common.exceptions import WebDriverException
 from selenium.webdriver.common.keys import Keys
@@ -6,7 +6,7 @@ import time

 MAX_WAIT = 10

-class NewVisitorTest(LiveServerTestCase):
+class NewVisitorTest(StaticLiveServerTestCase):

     def setUp(self):
- FT - 통과
➜  python manage.py test functional_tests
.
----------------------------------------------------------------------
Ran 1 test in 23.393s
OK
8.6. 부트스트랩 콤포넌트
Jumbotron
<div class="col-md-6 col-md-offset-3 jumbotron">
  <div class="text-center">
    <h1>{% block header_text %}{% endblock %}</h1>
    <form method="POST" action="{% block form_action %}{% endblock %}"
    ...
Large Inputs
<input name="item_text" id="id_new_item"
       class="form-control input-lg"
       placeholder="Enter a to-do item" />
Table Styling
<table id="id_list_table" class="table">
8.7. 내가 만든 CSS 적용
css / base.css
#id_new_item {
    margin-top: 2ex;
}
base.html
<title>To-Do lists</title>
{% load static %}
<link href="{% static '/bootstrap/css/bootstrap.min.css' %}" rel="stylesheet">
<link href="{% static '/css/base.css' %}" rel="stylesheet">
- git
➜  git status
➜  git add .
➜  git status
➜  git commit -m "Use Bootstrap to improve layout"
8.8. collectstatic과 다른 static 디렉토리
- 개발 단계를 지나 production 단계에 이르면 Django는 app server로 작동하고, 웹서버의 역할을 Nginx나 Apache 등이 수행하며 Static서버가 별도로 구성하는 경우가 많다. 이 경우 웹서버는
./manage.py runserver로 작동하지 않으므로 여러 곳에 분산된 static file들을 자동으로 찾아주는 runserver기능을 사용할 수 없다. 따라서 여러 곳에 분산된 static 파일들을 한 곳으로 모아주는 collectstatic 기능을 수행해야 한다. -
collectstatic을 사용하려면 당연히 static 파일들을 모을 STATIC_ROOT과 웹에서 사용하기 위한 URL( STATIC_URL )을 settings.py에서 설정해야 한다.
- 설정
config / settings.py
# Static files (CSS, JavaScript, Images)
# https://docs.djangoproject.com/en/1.11/howto/static-files/

STATIC_URL = '/static/'
STATIC_ROOT = os.path.join(BASE_DIR, 'static')
- collectstatic 실행
# --noinput: collectstatic 실행 후 어떤 입력도 요구하지 않게하는 인자
➜  python manage.py collectstatic --noinput

➜  tree -L 2 static
static
├── admin
│   ├── css
│   ├── fonts
│   ├── img
│   └── js
├── bootstrap
│   ├── css
│   ├── fonts
│   └── js
└── css
    └── base.css
- git, 특히 .gitignore
➜  echo ./static >> .gitignore

# Custom
.idea/
.config_secret/
static/

➜  git diff
➜  git commit -am "set STATIC_ROOT in settings and disable admin"
8.9. 좀 더 알아야 할 것
- Customising bootstrap with LESS or SASS
- The
{% static %}template tag, for more DRY and fewer hardcoded URLs - Client-side packaging tools, like
npmandbower
9. 배포와 TDD 01 - Testing Deployment
Is all fun and game until you are need of put it in production. — Devops Borat
9.1. 조심스러운 영역들
- Networking - ❶ DNS 서비스가 도메인에 대한 서버의 올바른 IP 주소로 연결하여 서버가 전 세계에서 들어오는 트래픽을 수신하도록 구성되었는지 확인하고, ❷ 올바른 포트를 사용하고 있는지 그리고 ❸ 모든 트래픽이 방화벽을 거쳐가도록 구성되어 있는지 확인합니다.
- Dependencies
- Database
- Static files (CSS, JavaScript, image)
✔ OverView - 배포 단계
- 이 장 - 기본적인 수동 배포를 시작하고 실행하는 방법
- 배포 준비(staging server)를 위한 FT 수정
- 필요한 모든 소프트웨어를 staging server에 설치하고, 도메인에 연결하기
- 코드를 Git을 통해 서버에 올리기
- Django Dev server로 빠르게 사이트를 운영하기
- 서버에 가상환경(virtualenv)을 설치하고, 데이터베이스, static files 등을 작동하기
- FT를 이용하여 무엇이 작동하거나 작동하지 않는지 파악하기
- 다음 장 - production 준비 환경 설정
- Django Dev server ⟶ production 준비 환경으로 옮기기
- Django Dev server 운영을 중단하고, Nginx 등 웹서버와 효율적으로 static file을 제공할 수 있는 서버 구성을 하며, systemd로 우리의 app을 자동으로 부팅시키도록 설치하기
- 보안(Security) -
DEBUG=False, SECRET_KEY등을 새롭게 설정하기
- 마지막 장 - 배포 자동화 (Automating the deployment)
9.2. 언제나 그렇듯 Test부터
- FT를 STAGING_SERVER에 적용하기
import os
...

class NewVisitorTest(StaticLiveServerTestCase):

    def setUp(self):
        self.browser = webdriver.Chrome('path-to/크롬드라이버')
        staging_server = os.environ.get('STAGING_SERVER')  ➀
        if staging_server:
            self.live_server_url = 'http://' + staging_server ➁
❶ 환경변수 (Environment Variable)를 STATGING_SERVER로 설정함
❷ self.live_server_url을 staging_server에 맞게 수정하기
- FT
➜  python manage.py test functional_tests
...
Ran 3 tests in 8.544s
OK
- staging_server에 대한 FT( staging_server에서 FT를 하는 것이 아님에 주의! ) - STAGING_SERVER 환경변수 설정에
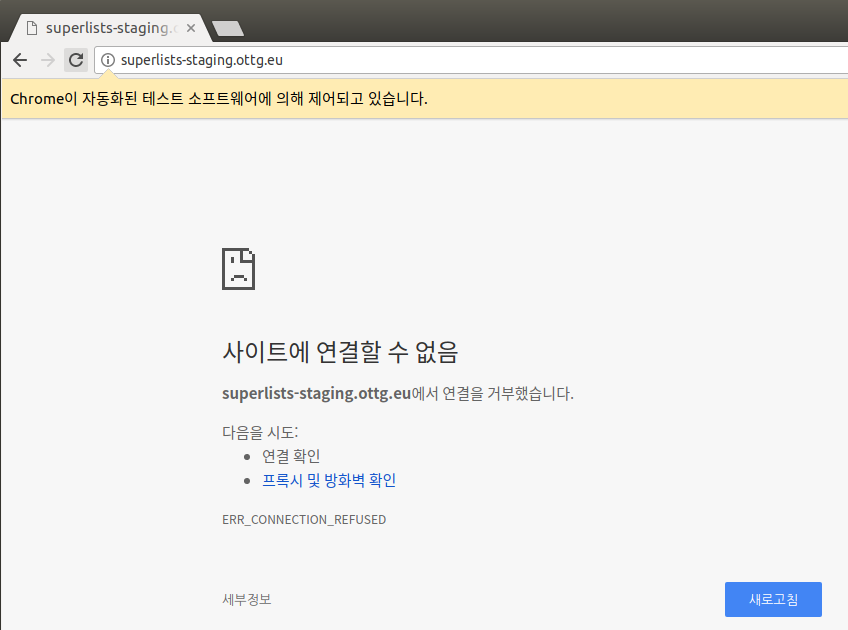
➜ export STAGING_SERVER=superlists-staging.ottg.eu를 사용하지 않아야 한다.export를 쓰게 되면, 이후의 FT 모두 STAGING_SERVER에 놓이게 된다. 아래와 같이 명시적인 inline방식 이 가장 좋다.
➜  STAGING_SERVER=superlists-staging.ottg.eu python manage.py test functional_tests

EEE
======================================================================
ERROR: test_can_start_a_list_for_one_user (functional_tests.tests.NewVisitorTest)
----------------------------------------------------------------------
...
======================================================================
ERROR: test_multiple_users_can_start_lists_at_different_urls (functional_tests.tests.NewVisitorTest)
----------------------------------------------------------------------
...
======================================================================
ERROR: test_layout_and_styling (functional_tests.tests.NewVisitorTest)
----------------------------------------------------------------------
- git
➜  git diff
➜  git commit -am "Hack FT runner to be able to test staging"
9.3. 도메인 이름 등록하기
- 도메인을 이미 소유하고 있지 않은 경우 등록 할 때이다.